Top Tips on How to Install a Clothesline
Learn how to choose the right clothesline, prepare your site, and set it up for perfect drying every time.
Overview:
-
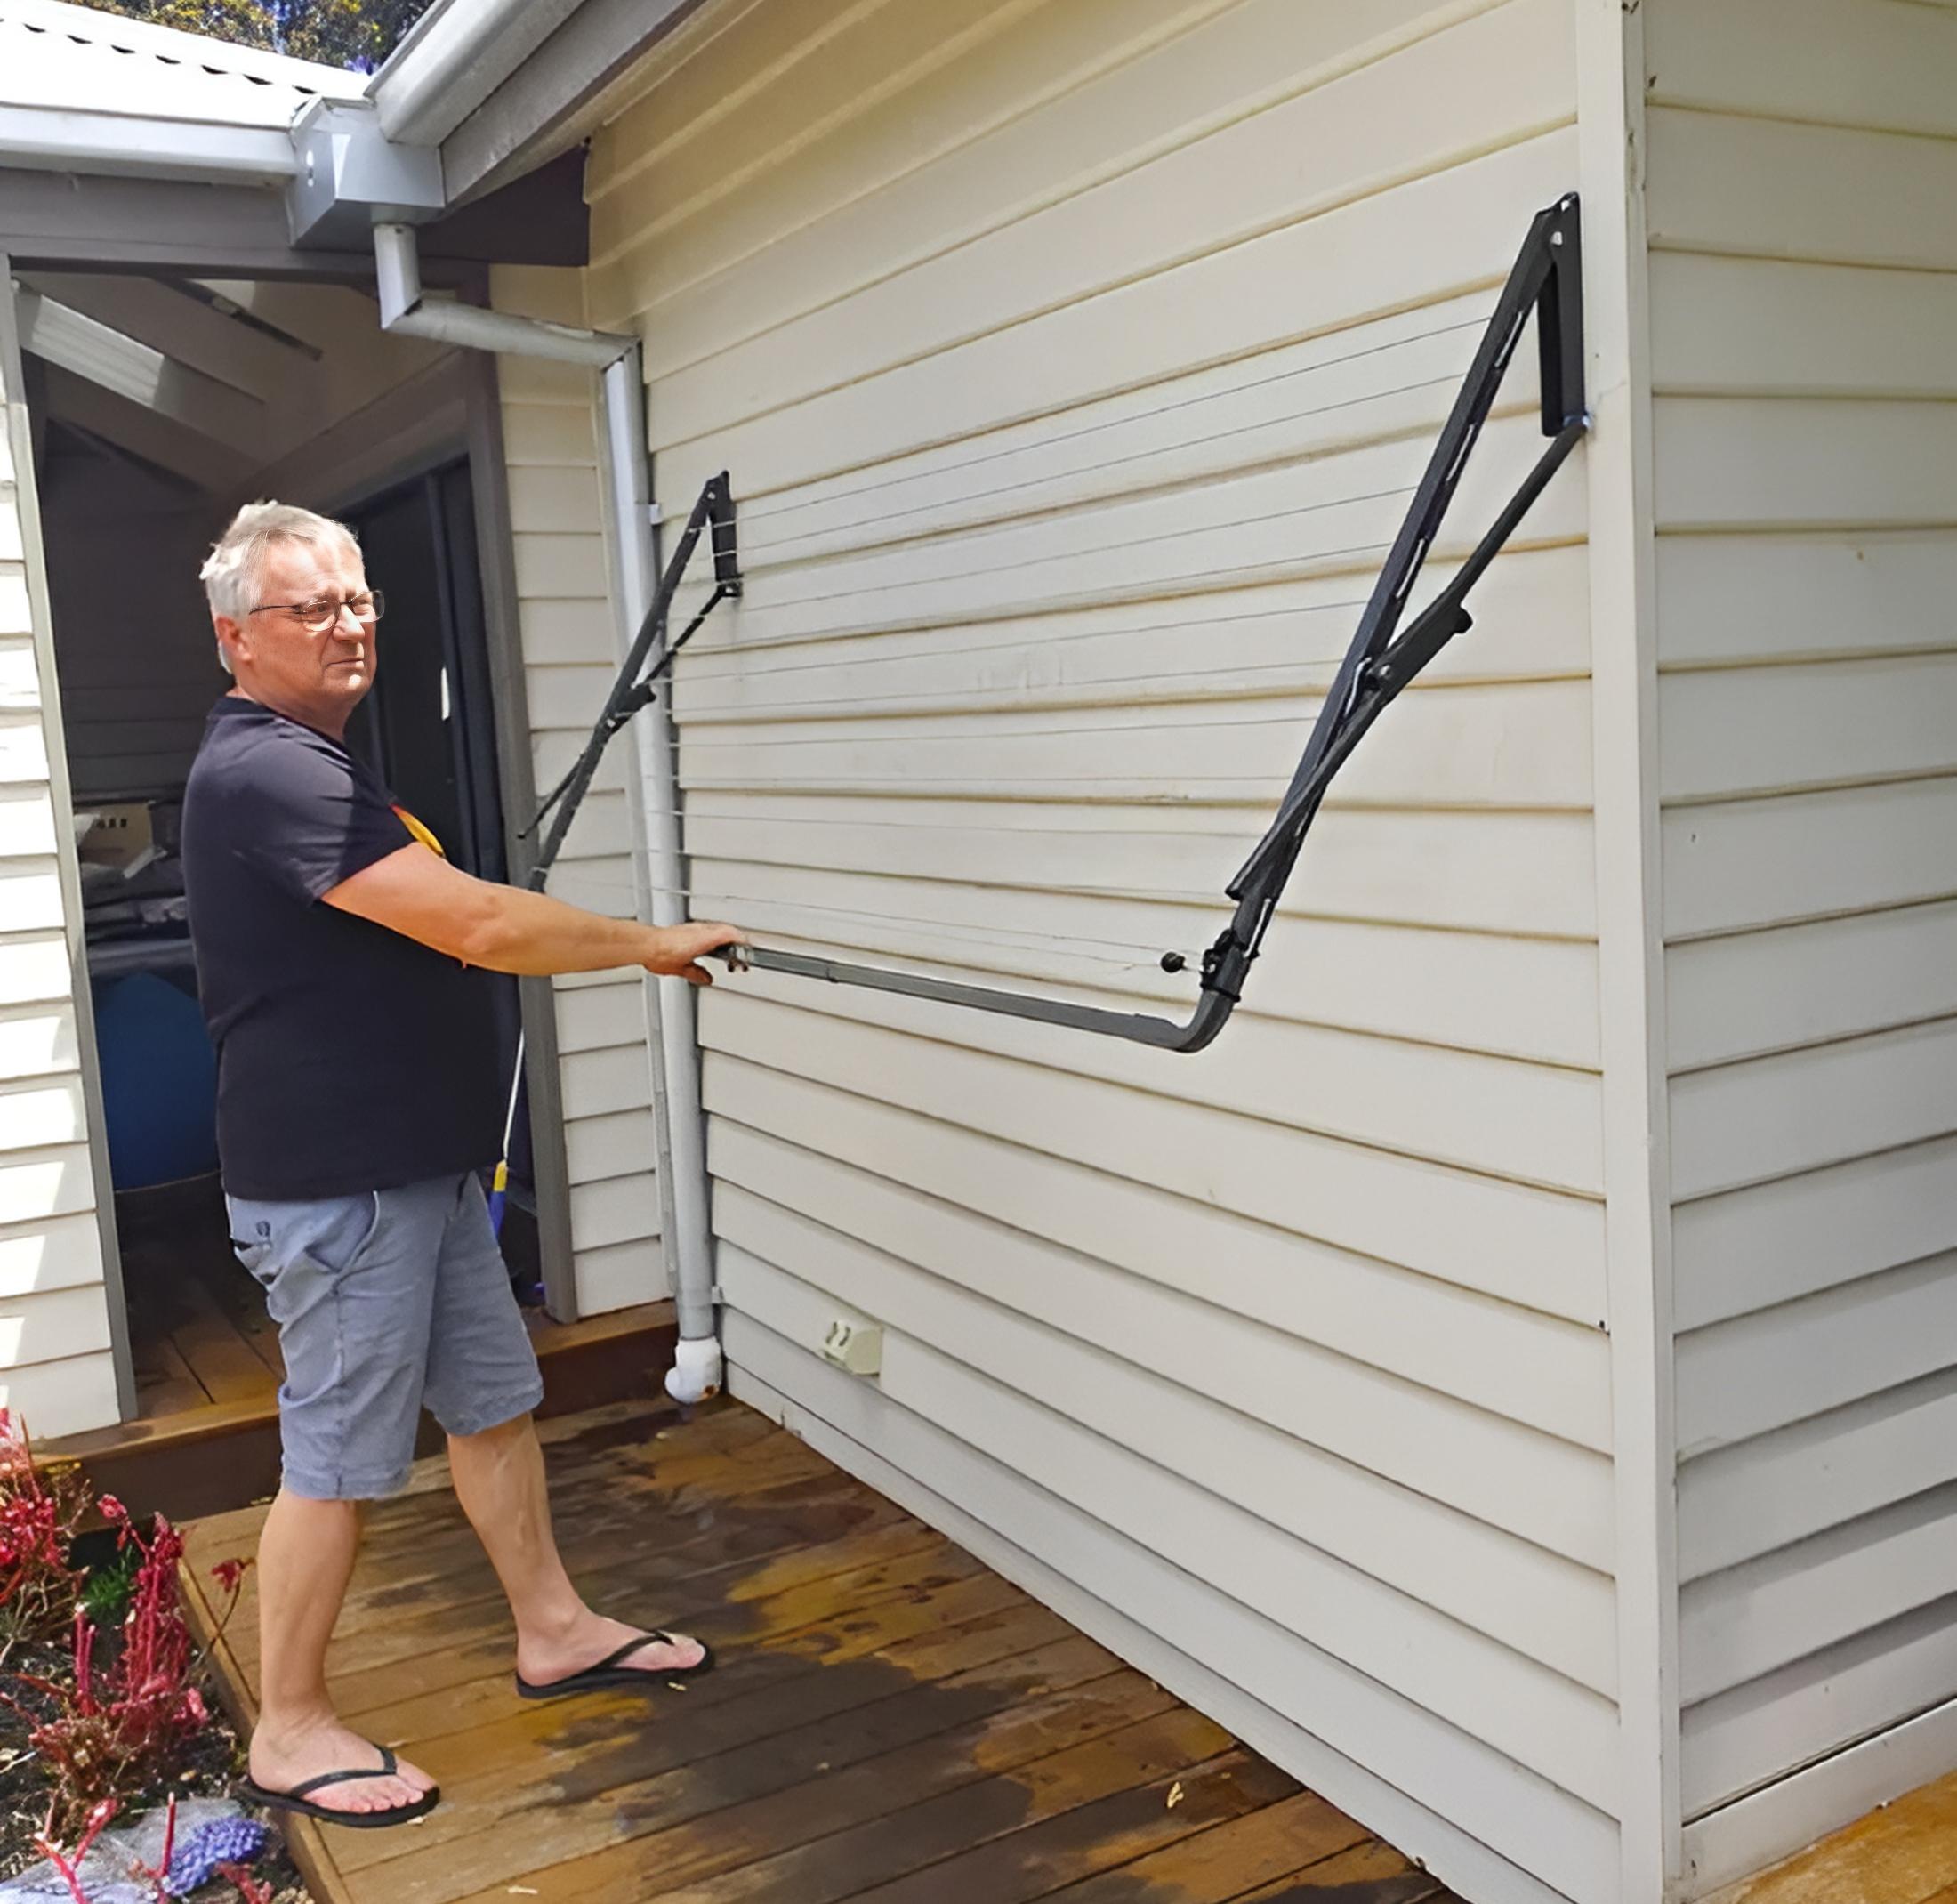
Select the appropriate type of clothesline based on your space and washing needs, considering options like fold-down, rotary, and retractable models.
-
Choose an installation site that offers ample sunlight and airflow, while ensuring stable, level flooring and easy access for optimal drying efficiency.
-
Gather necessary tools and materials, and follow a step-by-step approach to installations, adjusting for specific surface conditions to ensure stability.
Table of Contents:
All About the Tips on How to Install a Clothesline
1. Choosing the Right Clothesline
There are several types of clotheslines available, including fold-down, rotary, and retractable options.
Fold down clotheslines are favoured for their compact design and easy storage, making them ideal for small spaces.
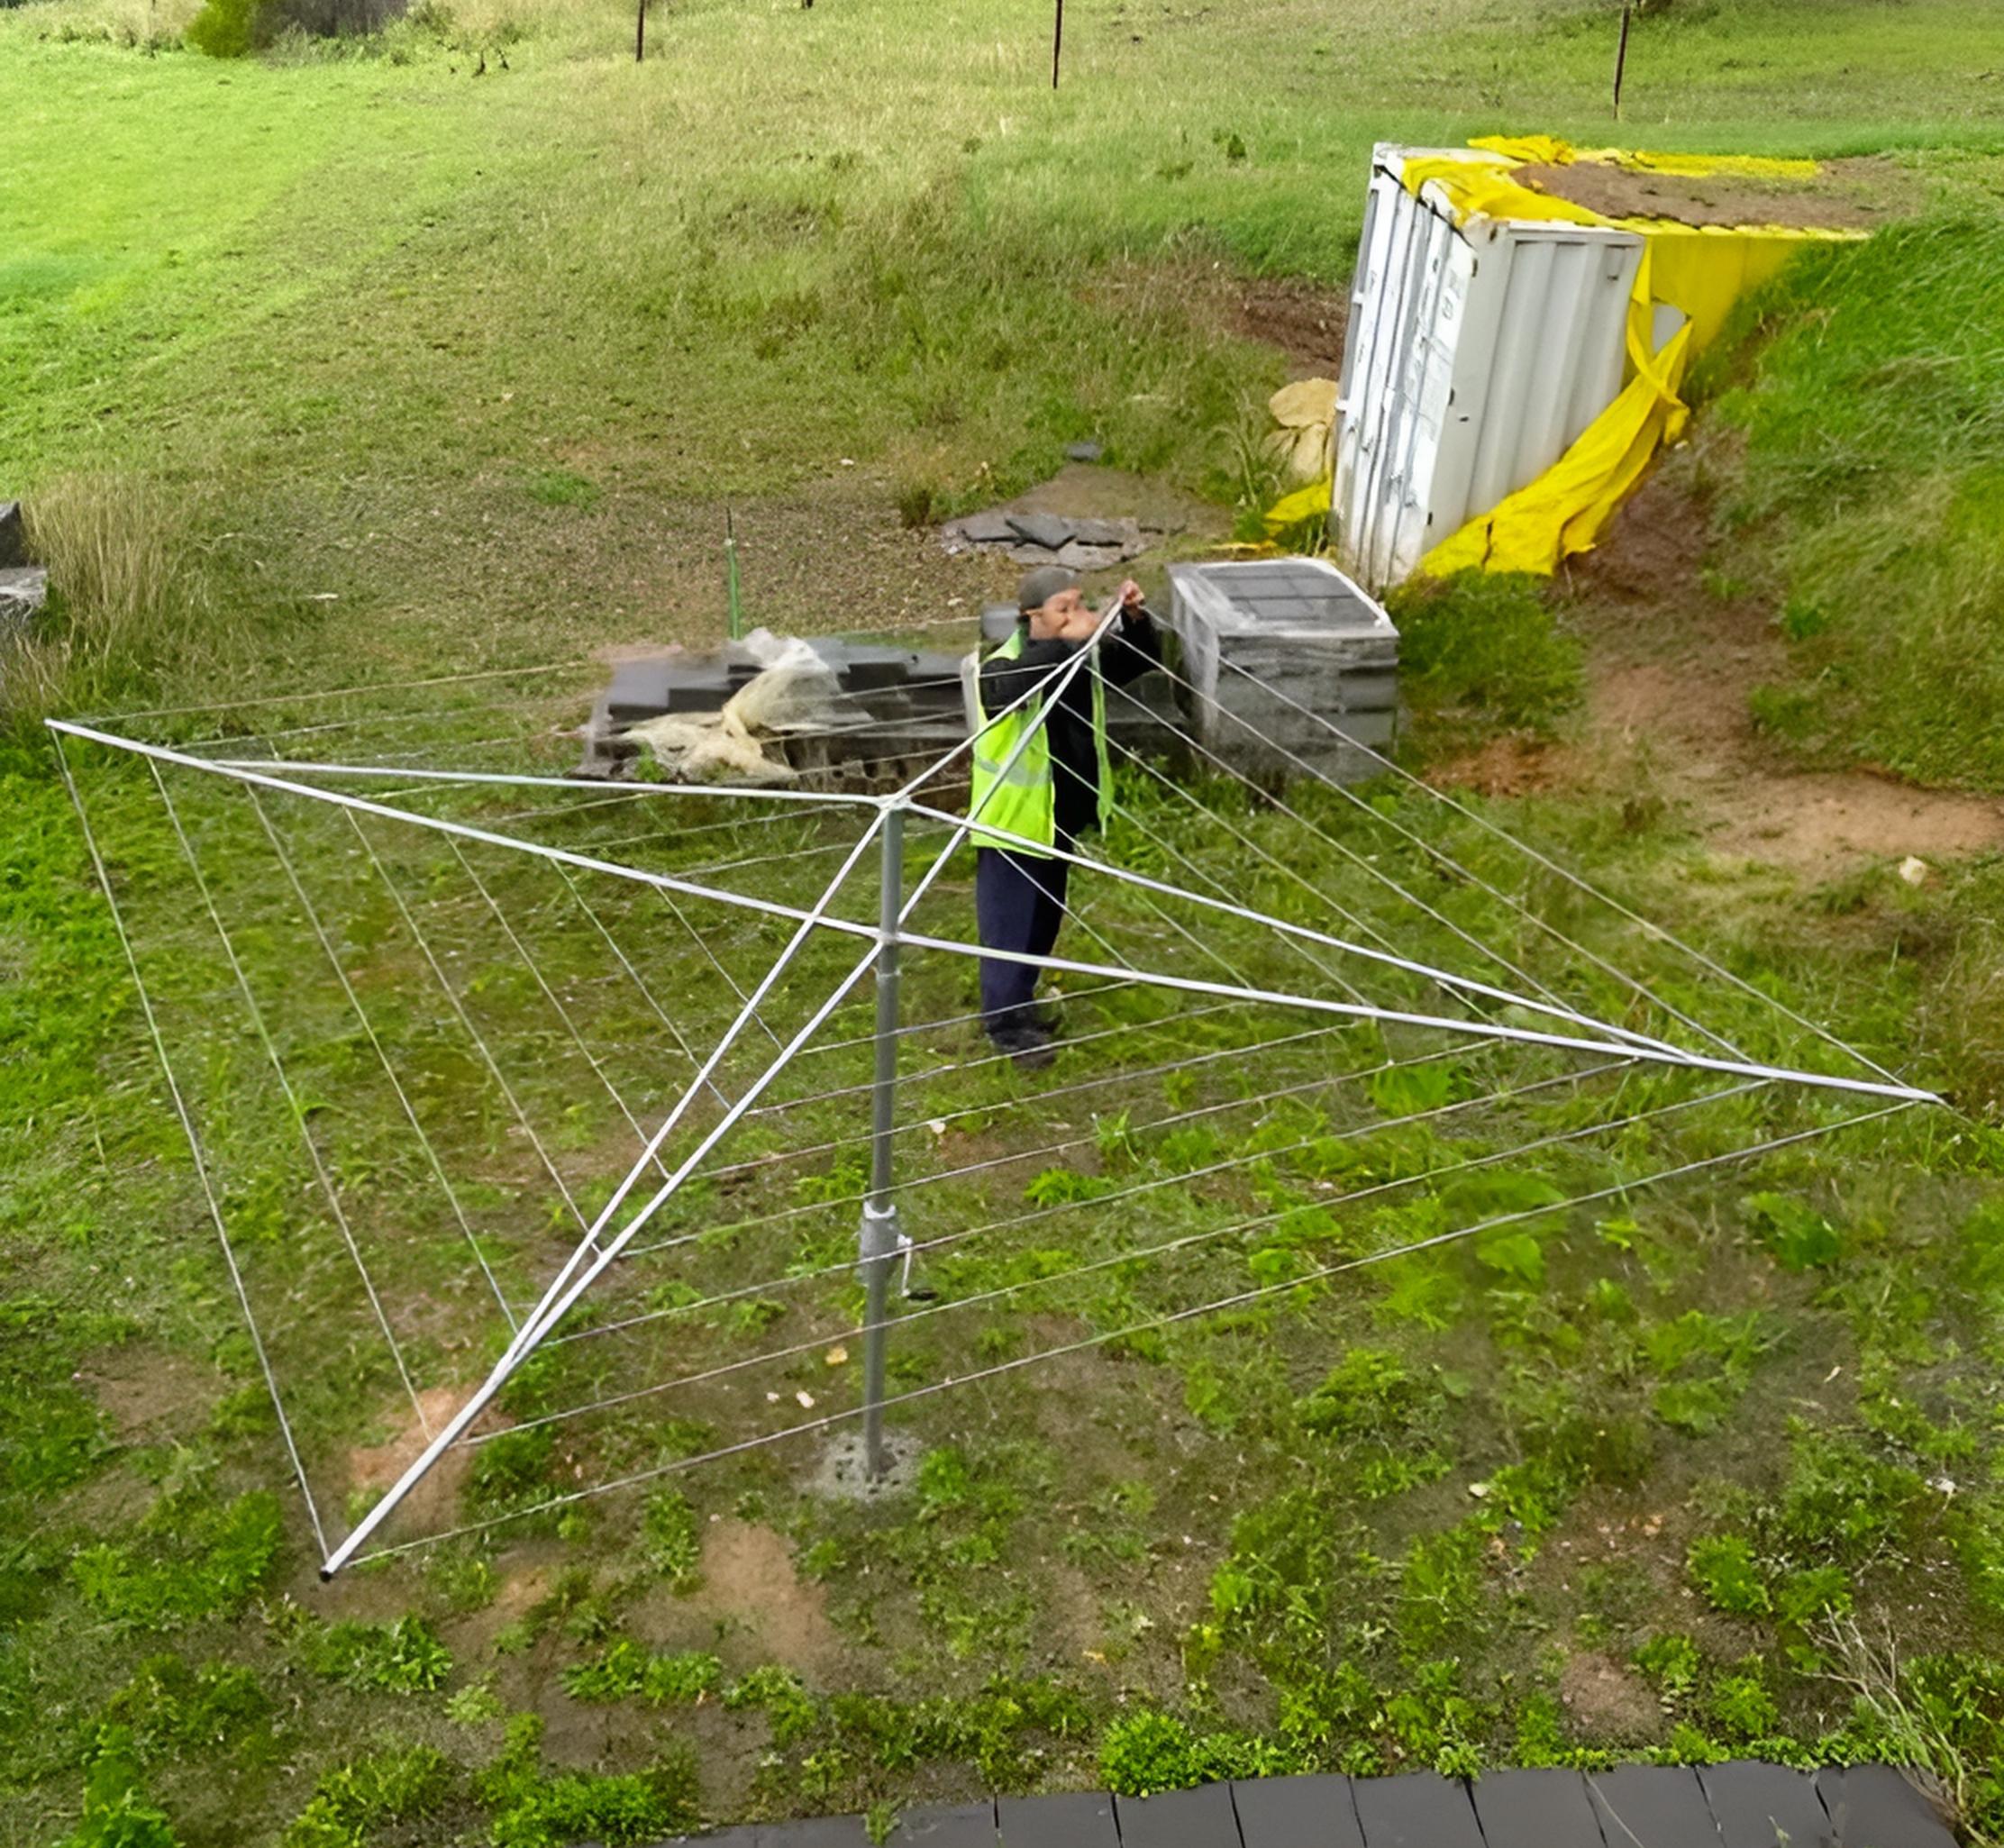
Rotary clothes hoists offer significant drying capacity without taking up excessive floor space, which makes them practical for larger households.
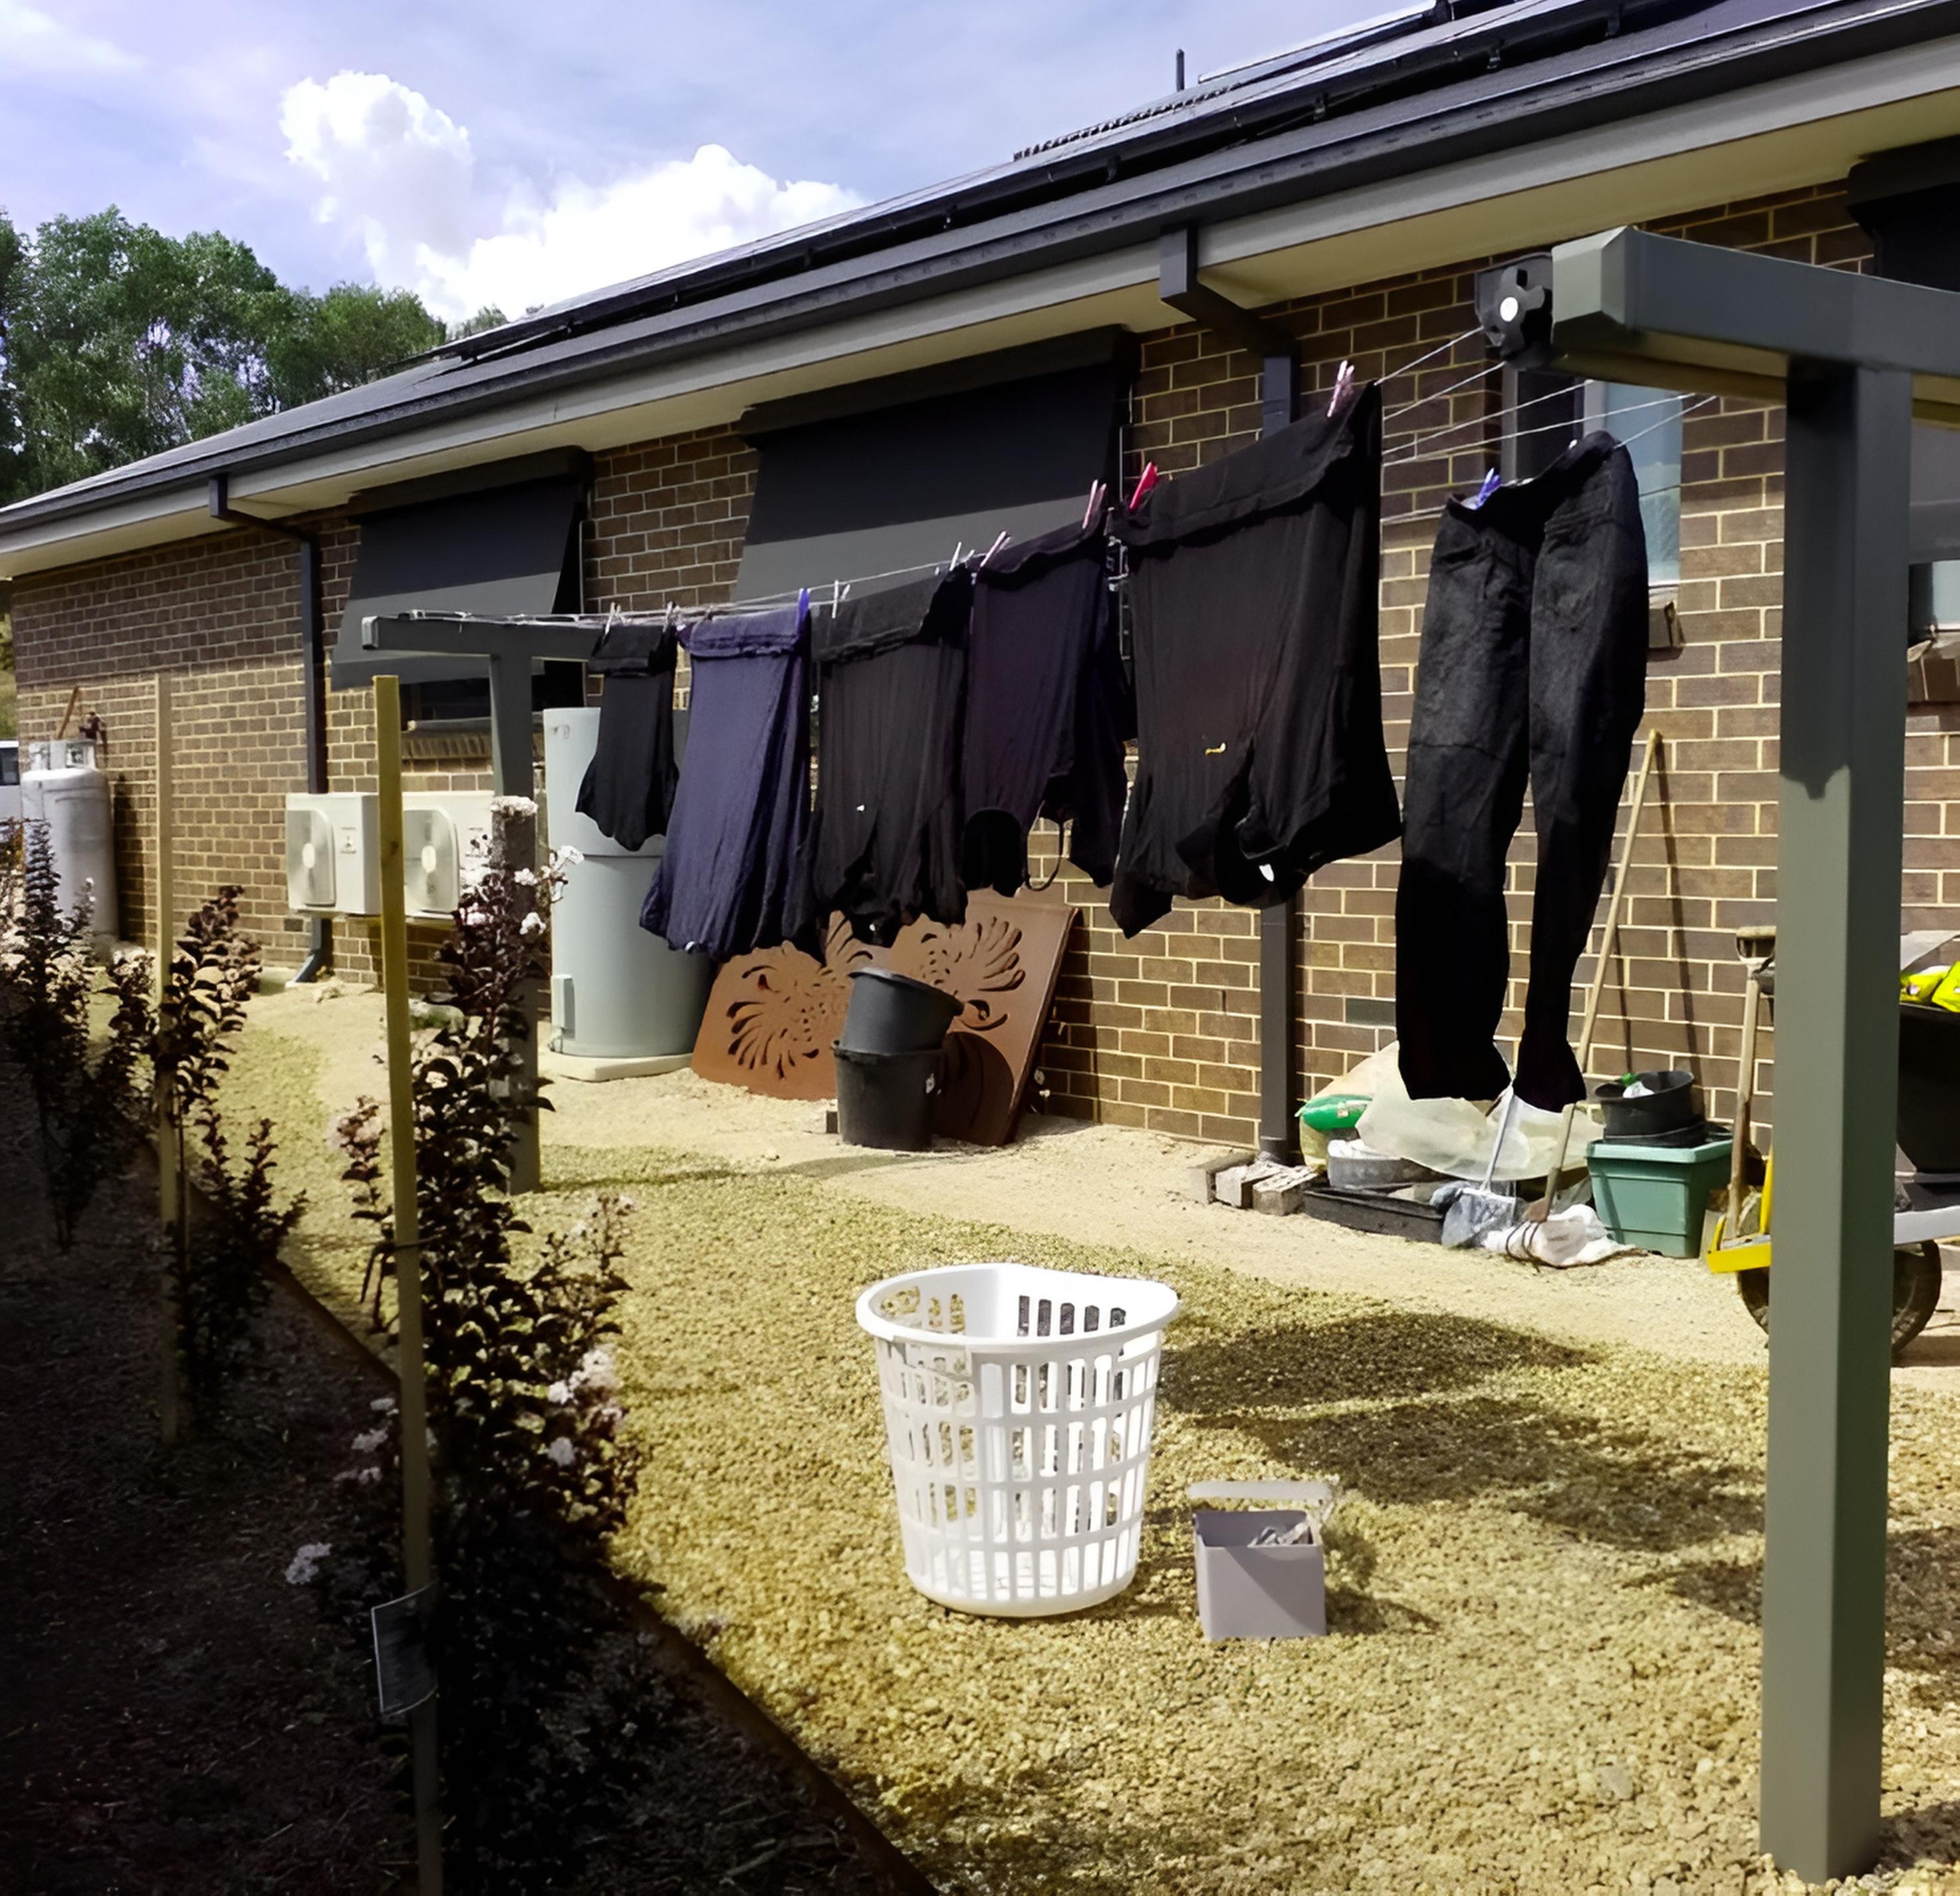
Retractable clotheslines, on the other hand, can be mounted on various surfaces and allow for line length adjustment, reducing sagging issues.
Retractable clotheslines often come with clothesline pulleys, which help maintain tension and prevent sagging.
When choosing a new clothesline, consider the amount of dirty clothes your household generates and vary depending on the available space in your yard.
A hasty decision can lead to regrettable choices, so take time to assess your specific requirements to ensure you select the most appropriate model.
Think about whether a fixed or retractable line would better suit your lifestyle and space constraints.
Additionally, consider the existing clothesline setup you may have.
If you’re replacing an old clothesline, think about what worked well and what didn’t.
This reflection can help guide your decision for a new clothesline that better meets your needs and avoids past issues.
2. Preparing Your Installation Area
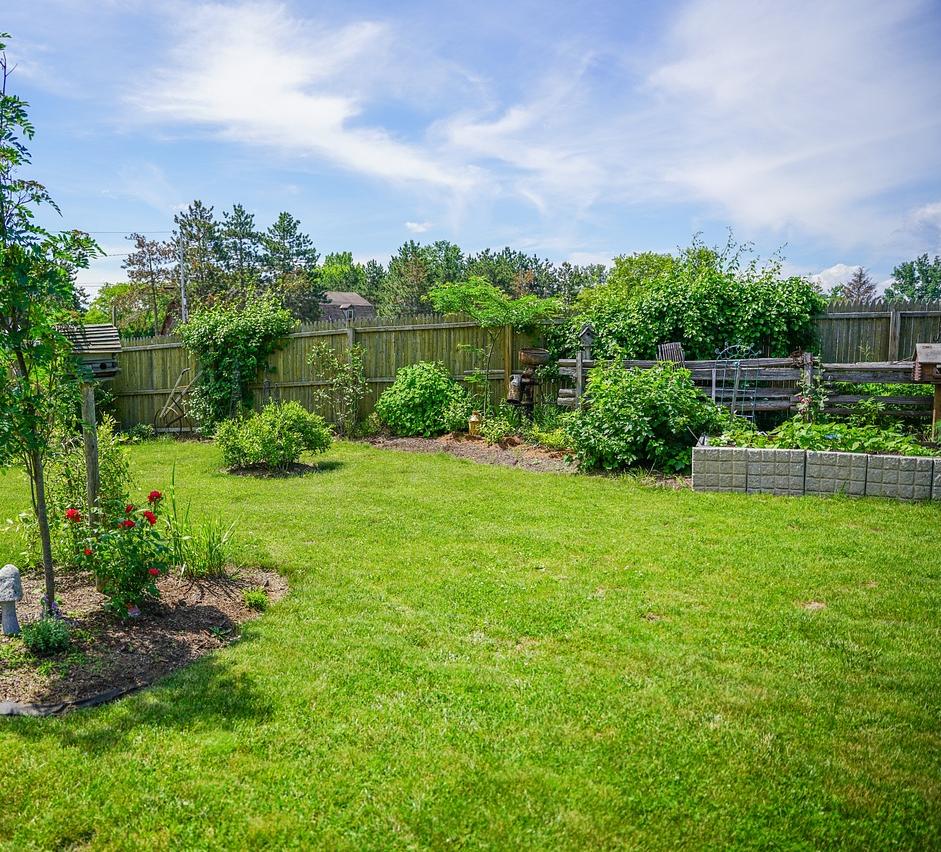
Aim for a location that receives at least six hours of direct sunlight each day to enhance the drying procedure and reduce the risk of mould and mildew.
Wind exposure is equally important, so choose a spot where airflow is not obstructed by tall structures or dense foliage. This will help your clothes dry more effectively and quickly.
Make sure there’s adequate space in your yard to accommodate the clothes line and the typical amount of laundry you hang out to dry.
The height of the clothes line should be convenient for hanging clothes without causing strain on your back or neck.
Also, consider the ease of access from your washing area to the clothes line to encourage regular use.
The installation area should have stable, level flooring to prevent tipping, ensuring safety and stability.
Before you start digging, review underground utility lines to avoid any accidental damage.
If you encounter solid rock formations, core drilling services may be required, which could incur additional costs.
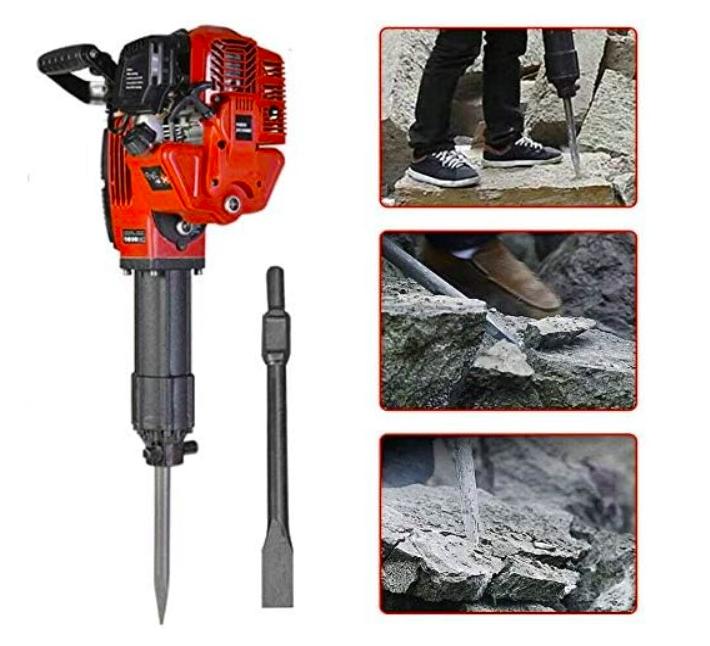
If you encounter particularly tough rock or concrete obstructions...
...a jackhammer may be necessary to break through the material.
Avoid placing the clothesline near trees, as this can hinder drying efficiency and increase the risk of sap damage on your clothes.
3. Tools and Materials Needed
Before starting the installation process, gather all necessary tools...
...and materials to ensure a smooth and efficient setup.
Essential items include:
-
Post hole digger for creating holes for clothesline posts
-
Clothesline tightener to ensure the line remains taut and prevents sagging
-
Quick-setting concrete mix to secure the posts in place
-
Ground mount kit for additional stabilisation in areas with softer grounds
-
Coarse gravel for proper drainage and enhanced longevity of the clothesline
-
Tools for removing remnants of the previous installation, such as old concrete or posts
-
Equipment for cutting off old clotheslines at ground level for a clean installation area
With these tools and materials at your disposal, you'll be well-equipped to tackle the installation process with confidence.
4. Step-by-Step Installation Process
Now that you’re prepared, it’s time to dive into the step-by-step procedure of installation.
This guide will help you through marking the spot, digging holes, setting posts, and attaching the clothesline.
Accurate measurements and secure posts are critical for a stable and efficient clothesline.
For additional stability, especially on softer grounds, consider using plated ground mount kits to secure the posts.
- Marking the Spot
The first step in the installation procedure is marking the spot where the clothesline will be installed.
Determine the proper height for convenience and accurate measurements between posts.
Stakes and string can help visualise the alignment of the clothesline posts during the marking process.
This will ensure that the clothesline is level and properly spaced.
A measuring tape is essential for this task.
Accurately marking the distance between wall brackets or posts ensures a level installation.
- Digging Holes and Setting Posts
After marking the spots, the next step is digging the holes for the posts.
When removing old clotheslines, the old line will be cut off and dismantled precisely at a very ground level, ensuring any concrete remaining in the ground will not be removed.
It’s recommended to dig a hole 250mm wide and 600 to 650mm deep for rotary clotheslines using ground sockets.
A post hole digger or auger can make this task easier and more precise.
If you encounter solid rock formations, core drilling services may be necessary to create the holes for the posts.
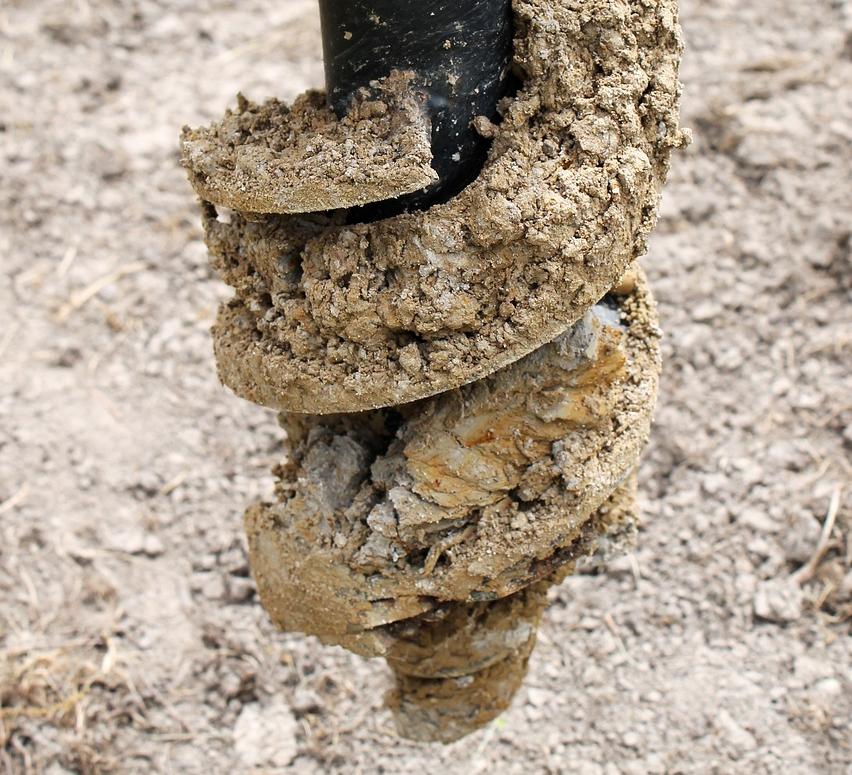
If you encounter rock or concrete obstructions, specialised tools like a jackhammer may be necessary to create holes for the posts.
Setting the posts in paving after digging the holes ensures the stability and durability of the clothesline installation.
Make sure to follow the recommended dimensions to provide a solid foundation for the posts.
- Attaching the Clothesline
Finally, it’s time to attach the clothesline to the posts.
Make sure the line is taut to prevent sagging, which can impact drying efficiency.
A level can help verify that the clothesline is horizontal, which is important for effective drying.
Secure all components and test the clothesline by loading it with clothes to review adjustments in tension.
This final step ensures your new clothesline is ready for use and will provide the best drying experience.
5. Installation Methods
- Rotary Hoist Installation
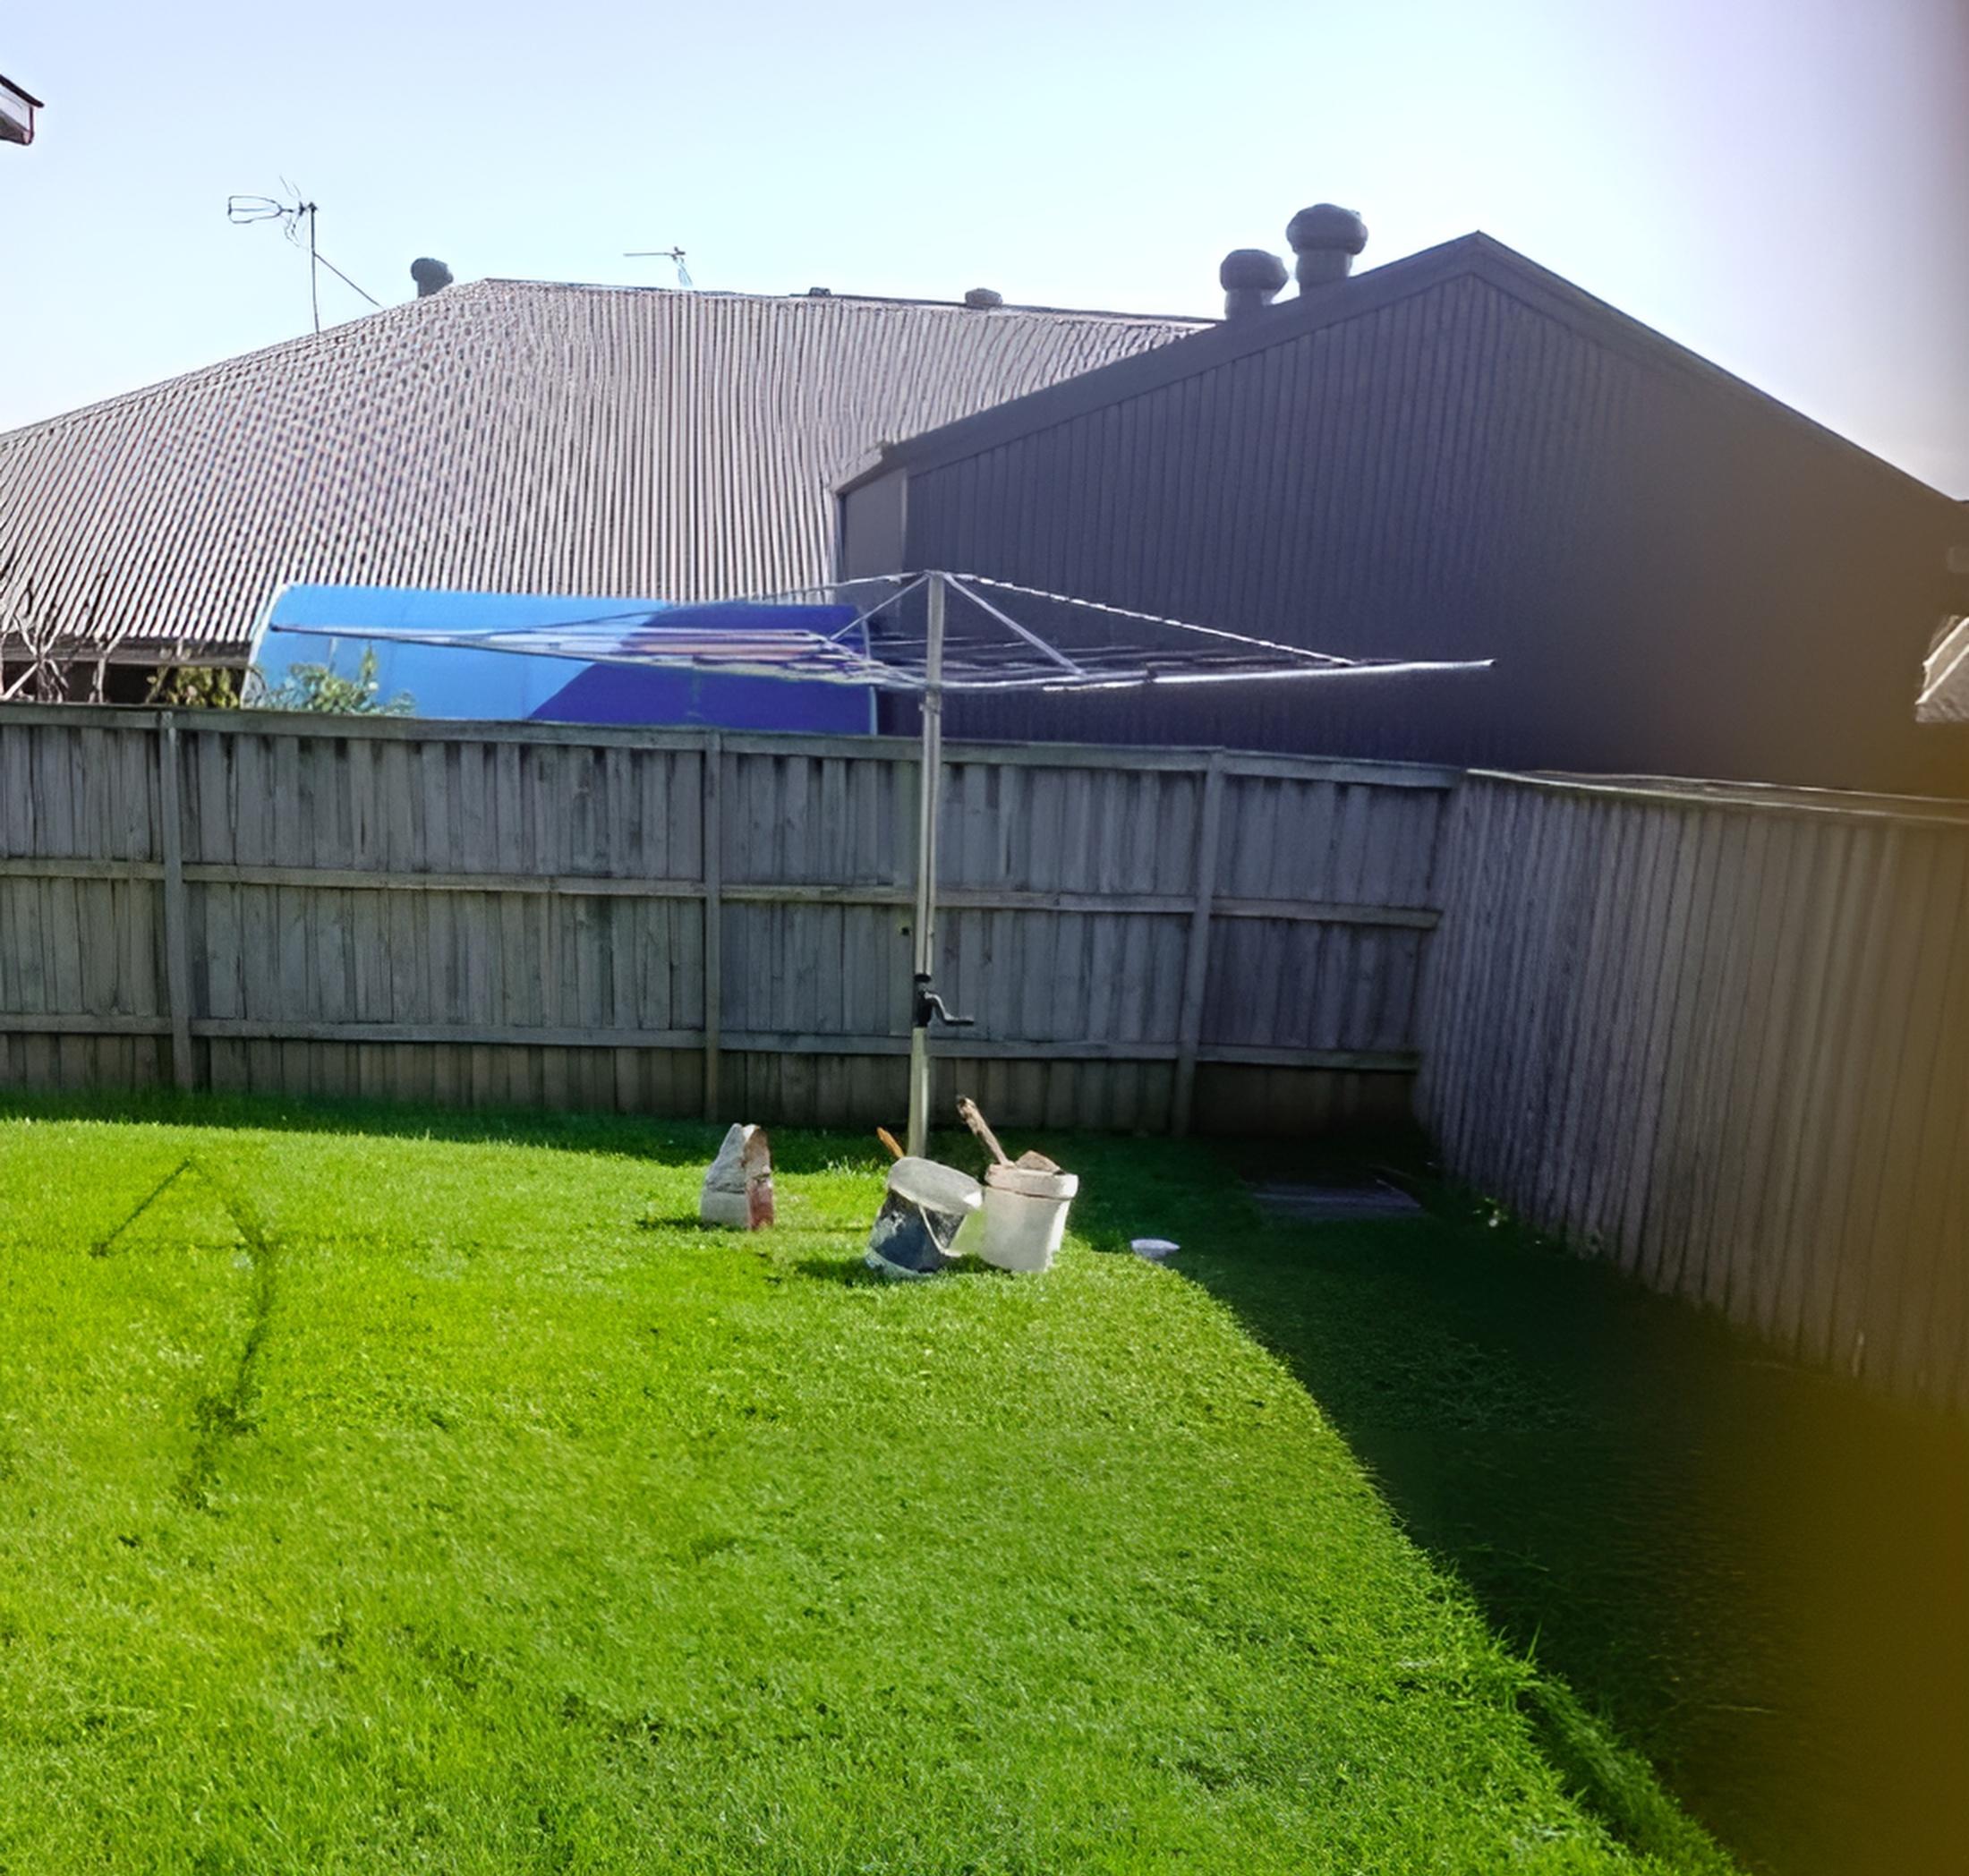
Rotary hoist installation is a popular choice for those with limited space, offering a compact and efficient drying solution.
This method involves setting up a central post with a rotating head, allowing the clothesline to be easily raised and lowered.
Here’s how to install a rotary hoist:
-
Choose the Location: Select a spot away from wires, trees, and high-traffic areas. Ensure the location receives ample sunlight and wind for optimal drying. Accessibility is also key, so pick a place that’s easy to reach from your washing area.
-
Dig the Hole: Using a post hole digger, create a hole that is 12 inches deep and 6 to 12 inches wide. This will provide a sturdy base for the central post.
-
Create a Support Tube: Cut a piece of PVC pipe to the appropriate size to support the clothesline’s post. Cover one end with duct tape to prevent material from entering during the setting process.
-
Set the Concrete: Pour dry material mix into the hole and add water using a garden hose. Stir the mixture until it’s homogenous, then insert the support tube. Allow the material to set for a couple of days to ensure stability.
-
Install the Clothesline Kit: Follow the manufacturer’s instructions to set up the rotary hoist clothesline kit. This typically involves attaching the rotating head and ensuring all components are secure.
-
Attach the Clothesline: Install clothesline pulleys at the anchor points and thread the clothesline through them. Secure the ends with a knot or a clothesline tightener to maintain tension and prevent sagging.
By following these steps, you’ll have a functional and space-efficient umbrella clothesline ready for use.
- Pole-to-Pole Clothesline Installation
For those with more space, a pole-to-pole clothesline installation is a traditional and effective method.
This involves setting up two posts with a clothesline stretched between them.
Here’s how to do it:
-
Choose the Location: Pick a spot away from wires, trees, and high-traffic areas. Ensure the area gets plenty of sunlight and wind for efficient drying. Accessibility from your washing area is also important.
-
Dig the Holes: Use a post hole digger to create two holes, each 12 to 18 inches deep and 12 inches wide. These dimensions will provide a solid foundation for the posts.
-
Set the Posts: Fill one-third of each hole with concrete mix and add water. Place the posts into the holes and fill the rest with concrete. Use a level to ensure the posts are straight and tight, and stake them in place until the concrete sets.
-
Attach the Clothesline: Tie a good-quality nylon clothesline to the ends of each pole “T”. Ensure the line is taut to prevent sagging. Install clothesline hooks or screw hooks to create anchor points for the clothesline.
6. Installing Clotheslines on Different Surfaces
For pavement surfaces, a bolted mount provides the necessary stability.
When installing into small rectangular pavers, concrete pads are required for a secure fit.
For solid surfaces like concrete, a core drilling service may be necessary, with costs varying by location.
If you’re installing in sandy terrain, ensure the clothesline is deeply anchored with ample concrete to provide stability.
In-ground clothesline poles eliminate the need for additional mounting hardware, which can reduce overall installation costs.
For sloped terrain, dig deeper holes for pole installation to prevent tilting under tension.
Avoid mounting clotheslines on unstable surfaces like timber or Colorbond fences, as they lack the structural integrity to support the weight of wet laundry.
Brick and solid fences, however, provide a strong and stable base for clothesline installation.
7. Safety Precautions
When installing a clothesline in your house, safety should be a top priority to prevent accidents and injuries.
Here are some essential safety precautions to keep in mind:
-
Review Utility Lines: Before digging holes for the posts, review underground utility lines to avoid damaging cables or pipes.
-
Use a Post Hole Digger: A post hole digger is a safer option for creating holes, as it minimises the risk of hitting underground utilities.
-
Wear Protective Gear: Always wear gloves and safety glasses when handling power tools to protect yourself from potential hazards.
-
Install at a Safe Height: Ensure the clothesline is installed at a height that prevents tripping or entanglement, especially in areas with children or pets.
-
Avoid Power Lines: Never install clotheslines near power lines or other electrical hazards to prevent accidents.

-
Use a Ground Mount Kit: For added stability, use a ground mount kit to secure the clothesline to the flooring, preventing it from toppling over.
8. Consider Hiring a Professional Clothesline Installer
While installing a clothesline can be a rewarding DIY project, there are significant advantages to hiring a clothesline installation service.
It’s more convenient and requires less effort.
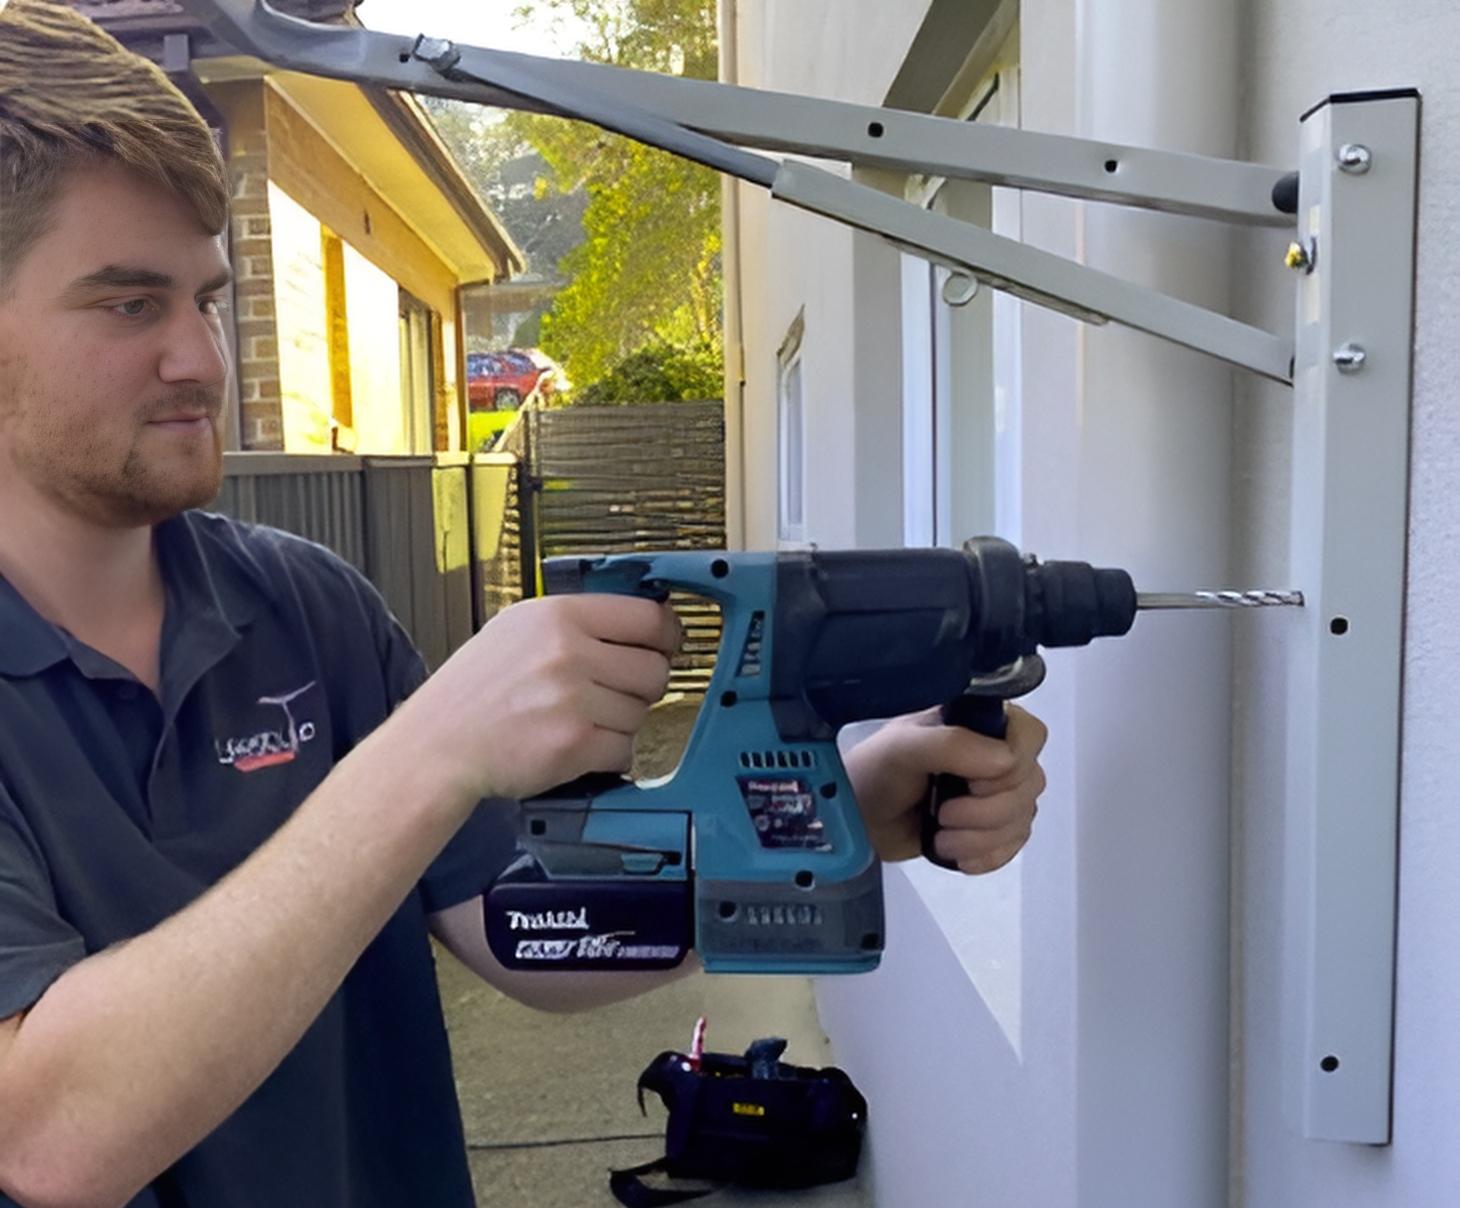
Professionals guarantee stable and proper mounting of the clothesline, ensuring it remains secure and functional for years to come.
Professional services are readily available for those who prefer not to handle the installation themselves.
You can find more information and arrange for professional installation and removal service through reputable services.
This option is especially beneficial if you encounter difficulties during the installation process or prefer the peace of mind that comes with professional expertise.
Frequently Asked Questions:
Fold-down clotheslines are the best option for small spaces, as they offer a compact design that can be easily stored when not in use.
To prevent your clothesline from sagging, make sure it is taut when attached to the posts and consider using adjustable retractable lines to maintain tension effectively.
If you encounter rock or concrete obstruction while digging, it's advisable to use specialised tools such as a jackhammer to effectively break through the material.
This approach will ensure that you can continue your digging project without significant delays.
It is not advisable to install a clothesline on a timber fence due to its potential instability, as it may warp or shift over time.
Consider using a more stable structure for installation.
Hiring a professional clothesline installer is worth it for the convenience, reduced effort, and assurance of a stable and properly mounted installation.
It saves you time and potential frustration in the long run.
Summary
By carefully choosing the right clothesline, preparing the installation site, gathering the necessary tools and materials, and following a step-by-step installation process, you can ensure a stable and efficient setup.
Considering the specific requirements for different surfaces will further enhance the durability and functionality of your clothesline.
If you encounter any challenges or prefer not to undertake the installation yourself, hiring a professional installer is a convenient and reliable option.
With the right approach and preparation, your new clothesline will provide many years of efficient service, making laundry day a breeze.
Disclaimer:
This article contains affiliate links and we may earn a small commission from purchases made through them. Your support helps sustain our blog and allows us to consistently provide valuable content for you. Thank you for your understanding.


